There's not a lot for me to say about these, but note that I used a flash which washed out the clay color a bit. It's browner and warmer than it looks here. The final thickness is about 3/8 of an inch and I'd estimate that it's flat to within 1/8 of an inch. The idea isn't to get this layer picture-perfect. #1, that would involve much more skill than I have, and certainly more patience. #2, the final pigmented layer will cover up the blotchiness and some of the smaller imperfections. #3, clay plaster is supposed to have natural variations and texture: it's organic, not manufactured.
Looking northeast (future kitchen)
North wall with blocking for wall cabinets
Looking northwest
West wall
Note the wet clay (darker) on the South wall to the left
South wall
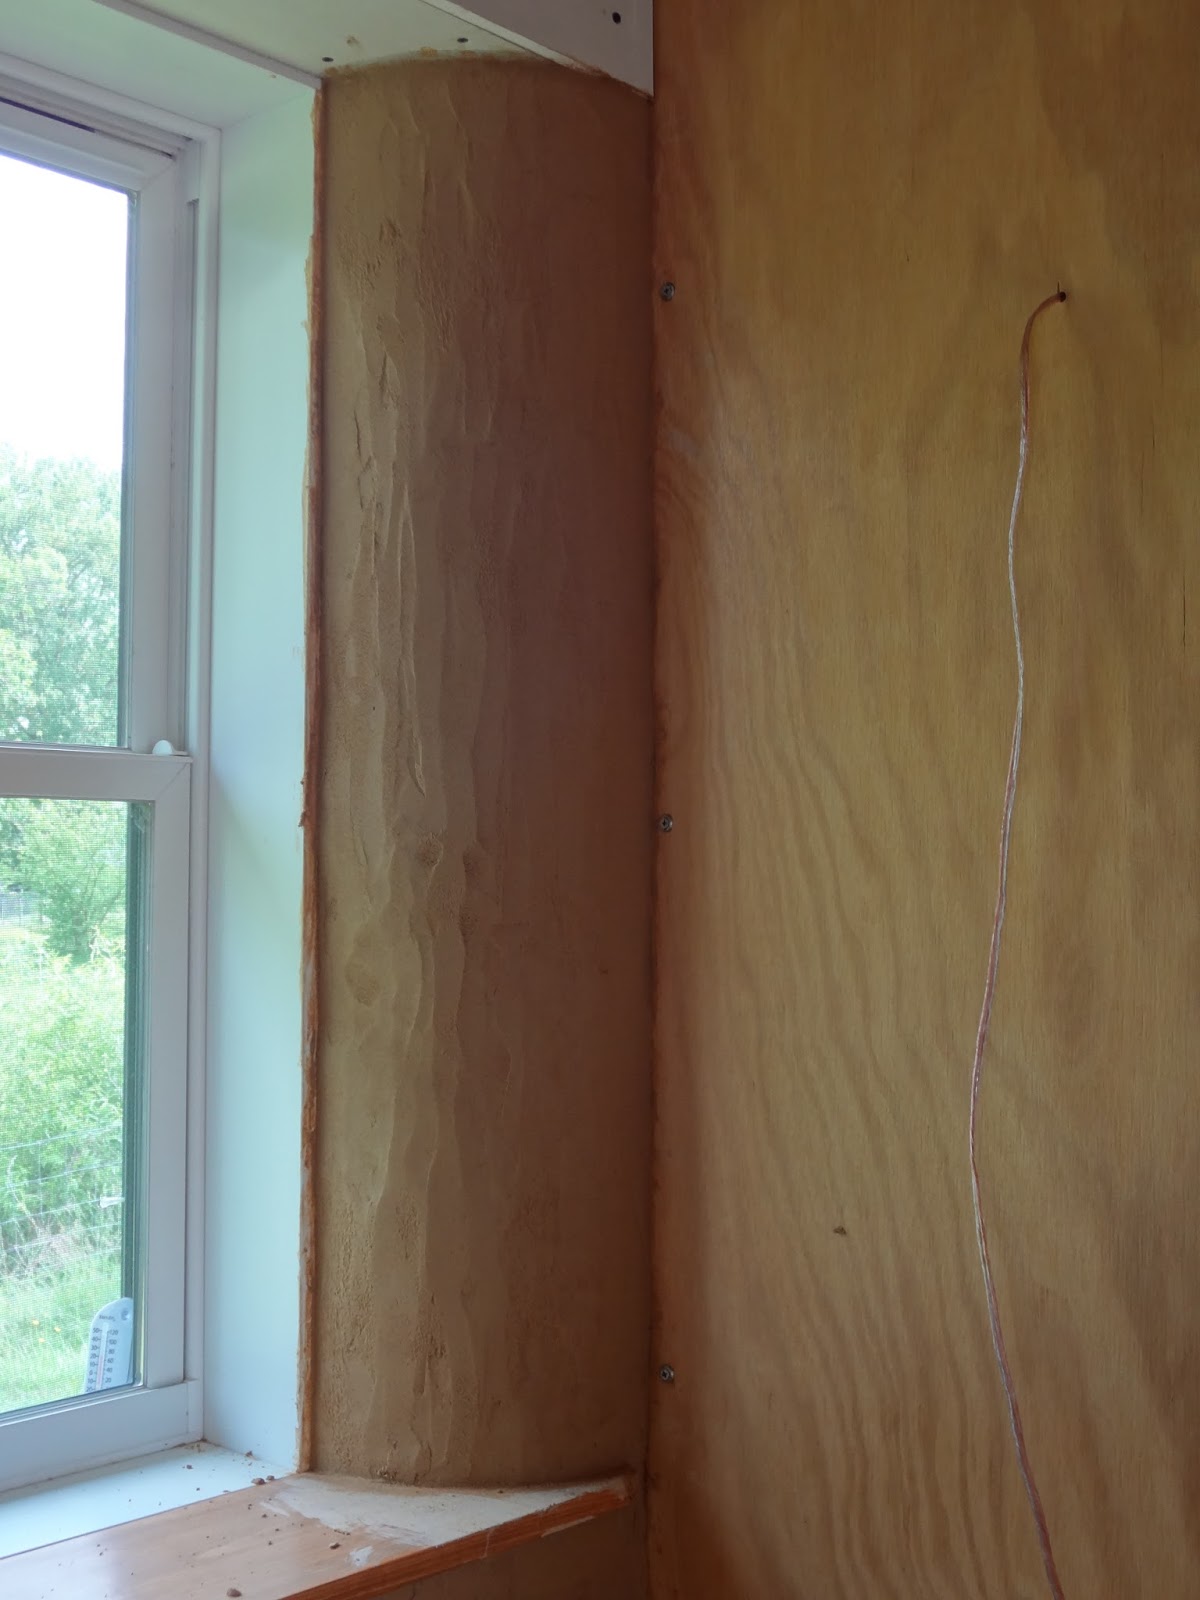
Closeup of a window round before final smoothing
Detail around the electric panes, showing the transitions to drywall.
These will get further smoothing with drywall mud
This is how I blocked out the truth window. The plexiglass is screwed in,
and this 1/2 thick styrofoam form is taped in place to allow me to create a clean
line with the straightening coat.
Porthole screwed in place on top of the still-soft straightening coat to
mold the clay to fit to the metal rim.
Porthole closed
(See what the clay looks like in natural light, rather than with a flash?)