Monday, July 27, 2015

On day three, the crew made quick work of the remaining rafters and started on the "ladders" that form the overhangs at the gable ends.

Test fitting the outer board of the "ladder"

Ladders ready to be screwed in place

Today they installed the rake trim and the fascia boards.  Check out that compound bevel where the two meet!  You can also see that the rafter extensions combine with the ladders to create a plane that wraps around from the soffit to the underside of the rake: this will be filled in with bead-board.

Just a few more panels and the roof will be fully sheathed.


Thursday, July 23, 2015

Going Vertical

After two days of framing work, R. A. Mears have made huge progress on the framing.  Now that I can stand inside the stud walls, with the I-joists above, it's possible to get a good sense of the space in this tiny house.

So the logical question is, "does it seem big enough?"  Answer: Yes!  Actually, it feels pretty much as I'd pictured it in my mind.  With the rafters going up, tomorrow I'll get to see if the same is true in the loft.

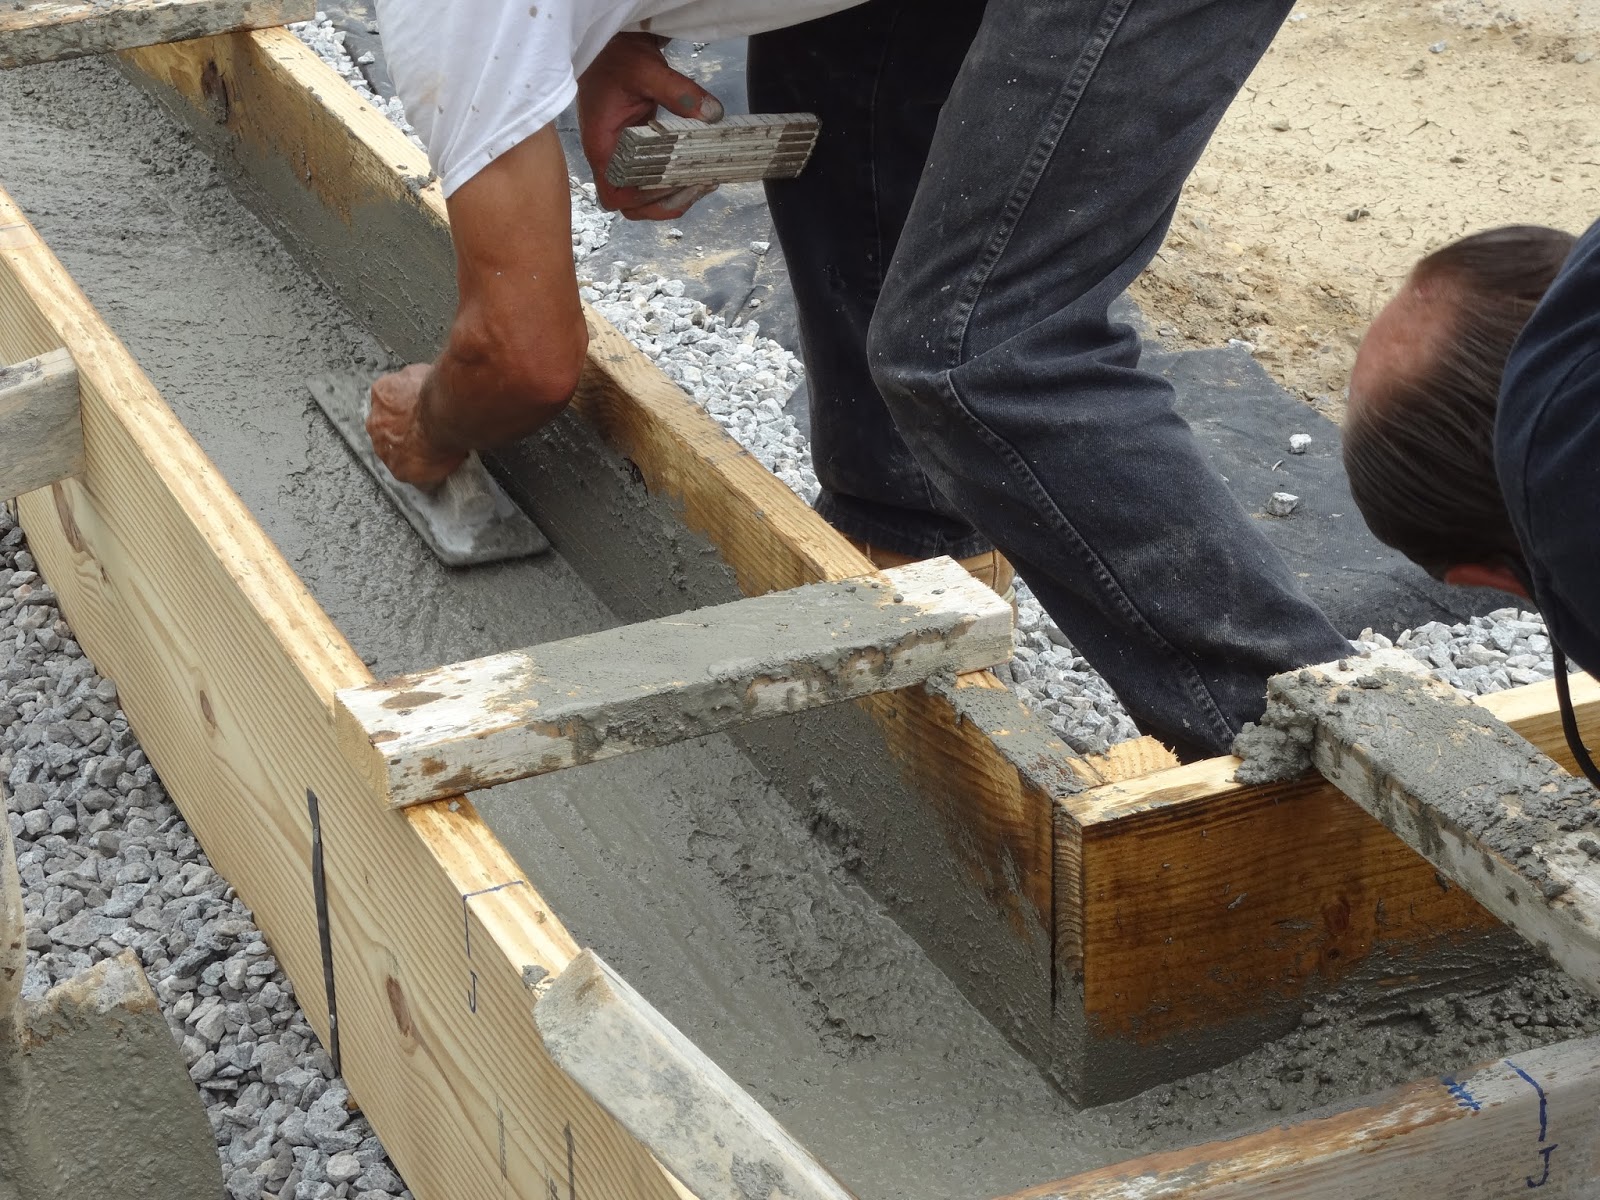
A nice tight sill plate: a sign of experience and skill.

While designing, I was a little worried that it would be hard (or a pain) to frame the walls without having a sub-floor or slab in place, as with most other houses.  It didn't phase them at all.

Starting to get a sense for what it will look like.

I-Joists for the ceiling.  I'm still trying to decide if it's a good idea to go with my initial design idea, which is to insert ceiling panels that sit on the bottom flange of the beams.  It seems cool, but I wonder what the electrician will say about the ceiling fixtures.  Stay tuned....

Now you can really start to feel the space.  And with shade, I should bring in a hammock so I can take a siesta during the heat of the day!

Now you can start to see the overall mass and shape of the building emerging.


Wednesday, July 15, 2015

Foundation Pour

It's pretty exciting seeing the concrete truck roll up, knowing that there will be three guys busting their butts for the next few hours as they fight against the quick cure-time in the summer heat!

Leveling the bottom layer in the form

Laying in the bottom layer of rebar

Corner rebar at the conduits

Filling the SonoTube that will support the porch columns.  It's a pretty small target and I was impressed that the driver can control the position of his truck within a couple inches.  Plus, he was able to limit the flow rate down the chute to something that didn't overwhelm the guys' ability to direct it into the tube.

All the concrete has been poured, and it's time to polish the top.  It takes quite a bit of muscle with the magnesium float (chosen because magnesium doesn't draw water to the surface in the way a metal float would).

The outer forms were striped about 2 hours after the pour started--way faster than I would have anticipated.

After a quick polish with the sponge float, it's ready to sit and cure.  They chose to leave the inner forms on for a day because the forecast called for rain.  The idea is that you don't want all three faces of the concrete to get wet.


Friday, July 10, 2015

With about the best weather you could hope for in July, the crew made a ton of progress forming up the concrete grade beam.  It took a little creativity to figure out how to brace the forms since it's not possible to drive conventional stakes into the #57 stone.

Checking the diagonals to make sure the forms are square

Corner detail at conduit locations

This strap will be connected to the other form (once it's been set in place) to hold the bottom of the forms together

This photo shows the extensive bracing to keep the boards from blowing out under the weight of the concrete.  Luckily, the pour is less than 12" deep, so it's nowhere near as much lateral pressure as a full-height basement wall.


Thursday, July 9, 2015

Constructing the rubble trench.  Yesterday the site contractor dug the trench, laid in the filter fabric, and was just filling in the trenches with the stone when the rain hit.  Luckily, it was not hard enough to pose any real setback, so they finished up today.  Note the really short orange stakes in the last photo marking the utility conduits: one each for sewer, water, electric, and cable.

The primary advantages of the rubble trench are excellent drainage to avoid moisture migration through the slab, and reduced carbon emissions because it uses much less concrete.  Refer to the DESIGN tab on the dumbhome.com webpage for more info.  They are also readily compatible with thick wall sections like my 12" super-insulated exterior walls.


Friday, July 3, 2015

Well, it's taken a bit longer to get here than I'd expected, but groundbreaking is scheduled for next week!!  I've had the foundation staked out for construction.  Rather than a conventional concrete foundation, I've designed a rubble trench foundation with a 12" x 12" reinforced concrete grade beam to support the walls.  This type of foundation will never suffer from moisture issues (because of all the stone and drain pipe), and it generates much less carbon dioxide since it minimizes the use of concrete.