As much as I would like to delve into masonry work, I've been impatient to move things along, and there were going to be a couple tricky things involved with building the front porch. Time to hire a professional!
 |
| All formed up with rebar ready to place in the bottom of the perimeter walls. Tricky item #1 was to get the concrete to abut the house at just the right height to work with the green trim board on the side of the house. That green trim is where the screen/acrylic panels will form the porch enclosure. |
 |
| Pouring the wall. Tricky item #2 was that the cylindrical concrete post footers did not line up very well. After some debate, we decided to line up the wall even with the post that is farther away in this shot and trim off a portion of the one that is closer. That was some challenging work with the masonry saw, which the contractor performed flawlessly. |
 |
| The walls have cured and bull-nose pavers have been installed. Tricky item #3 was trimming the bull-nose around the posts and dealing with the mitered corners that overhang the wall. Notice the temporary shims and blocking to hold the corner pieces in place while the adhesive cures. I can't praise the contractor enough about what excellent work they did. A week after this shot, they came back and parged the walls to create an attractive finish. I don't have a specific shot of that, but you'll see the parging in the last photo. |
 |
| The pea gravel in the previous shot was leveled out about 3 inches below the top of the bull-nose. It was then compacted with the hand-tamper in the same way I did under the adobe floor in the house. This shows a filter fabric on top of the base layer of stone to separate the sand layer that goes on next. Without the fabric, the sand would migrate into the voids between the gravel and allow settlement of the porch floor over time. The fabric allows water to drain through, so even if I get some wind-driven rain on the porch, it can migrate its way into the ground. This show shows some shovel-fulls of pea gravel holding the fabric in place temporarily in preparation for loading in the sand layer. |
 |
| The sand layer is in place and I'm starting to level it out with the 2x4 screed and rectangular trowel. Note the one brick in place to establish the level of the sand and the hand tamper to make sure it will provide a firm base for the bricks. |
 |
| Beginning to install the bricks in a herringbone pattern. Herringbone can also be installed on a 45 degree angle that is really cool, but that is a lot of work with a masonry saw that I'm just not interested in doing. (This is supposed to be a low-carbon house, after all and masonry saws burn gas!) With this pattern, I only needed to cut 12 bricks in half do do the entire floor. And speaking of low-carbon footprint, these bricks are from Baltimore row homes built between 1850 and 1870 that have been demolished. I got one surprise brick that has the footprint from some large dog baked into it! I set this in a place of honor in front of the front door. Unfortunately, I don't have a photo so you'll have to come see it in person. |
 |
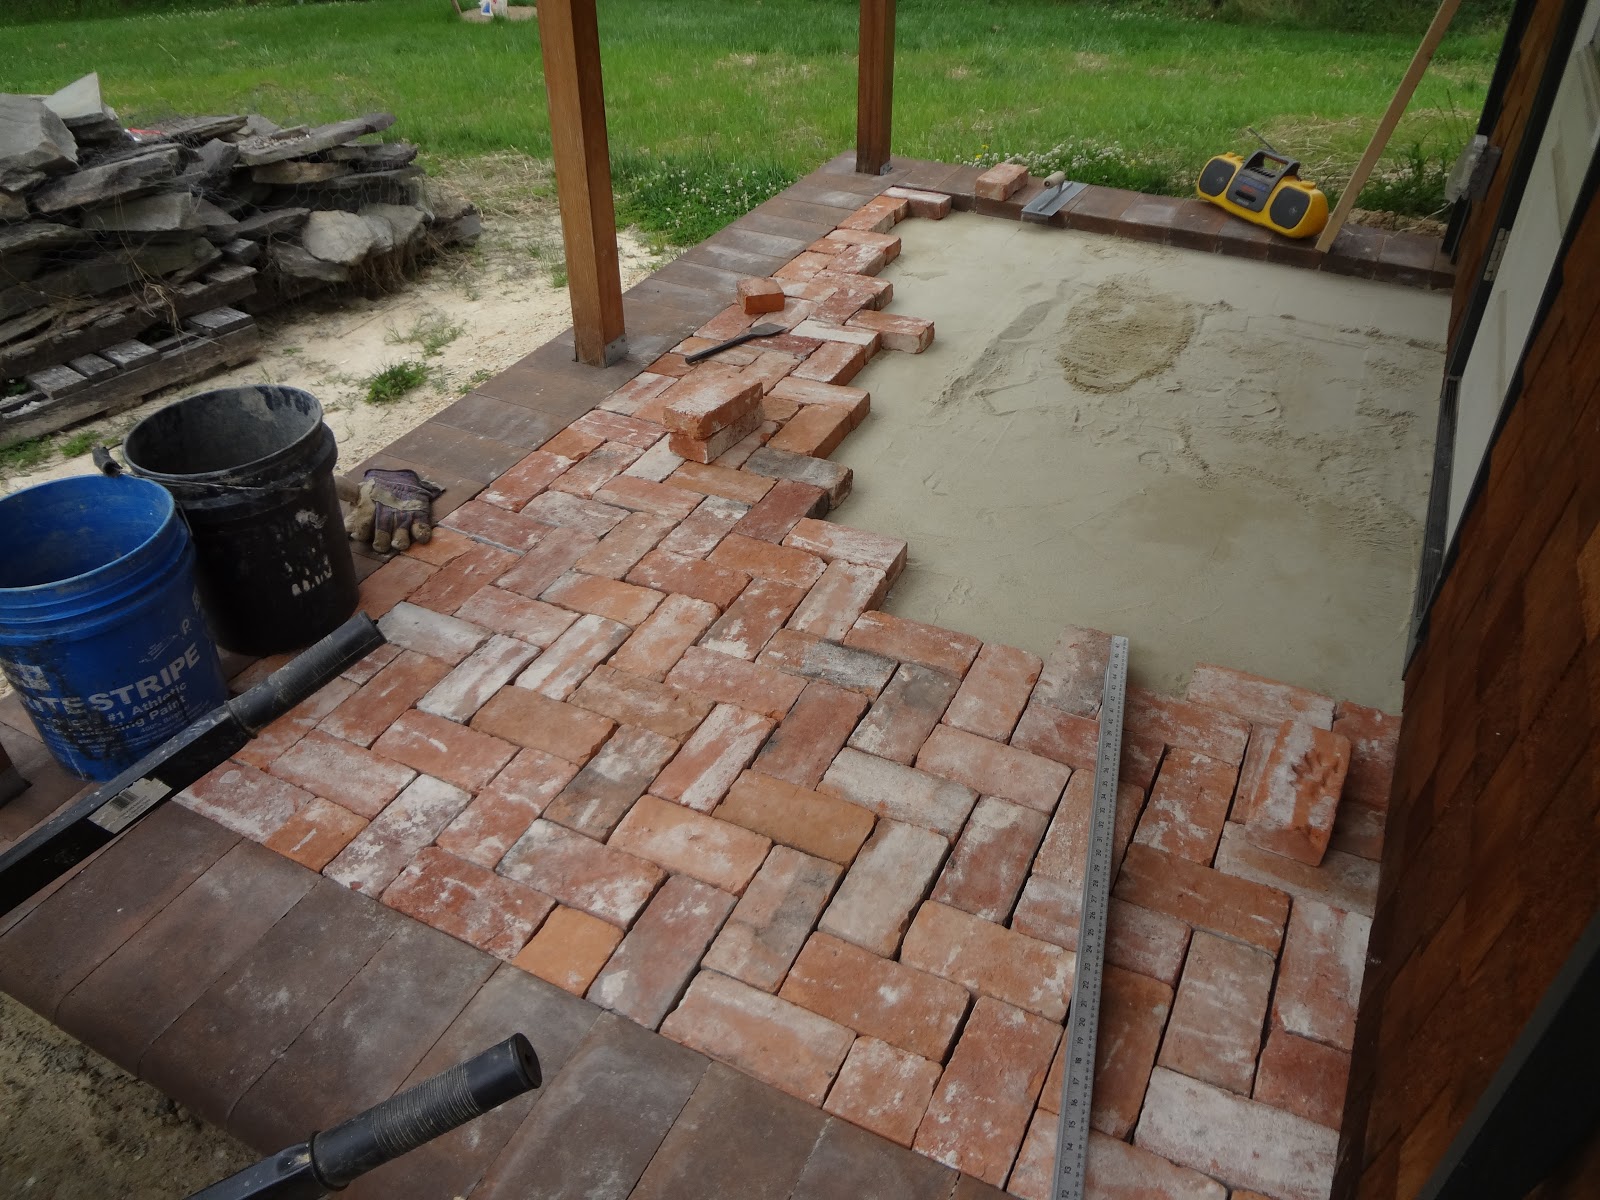
| This shows me extending the pattern the length of the porch to determine if I would need to trim the bricks at the far end to get them to fit inside the bull-nose. Luckily, there was only about a half inch gap at the far end, and I could adjust the bricks slightly to have a minimally larger gap and avoid lots of trimming. I'd like to praise the professional masons again for their forethought, but this is more likely just another instance of Layden Luck. The same thing happened with the short dimension: I ended up with an extra 1/2" gap between the bricks and the house foundation. In this case, I just left the larger gap and added more sand to fill the joint, which is mostly hidden by the siding anyway. |
 |
| Pounding the bricks to help them settle into place. Actually, I pounded the wood block sitting on the bricks to avoid damaging them. Boy, talk about a forearm workout, and I'm ambidextrous so I was alternating arms! |
 |
| Sweeping sand into the joints. The gaps are pretty small, so this required more persistence than I had pictured to fill them up. Dry sand is definitely easier to work with, and mine was a little damp. I expect to have to come back and touch this up periodically as the sand continues to migrate due to foot traffic wiggling the bricks a little bit. |
 |
| All ready for a chair and a beverage! It feels pretty decadent to have an easy step into the house, rather than the various cobbled-up arrangements I've been using for the past two years! |


No comments:
Post a Comment